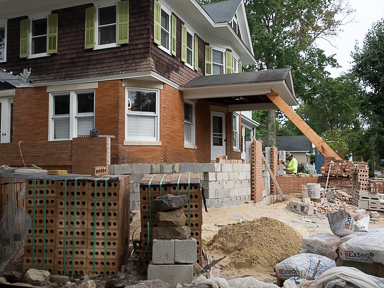
We’ve been watching as our porch wall grew, brick by brick, for the past five weeks. It’s a masterpiece. We never really understood the amount of detailed craftsmanship required. We have also been amazed as we see the plan come to life.

Everyone has been wondering if the porch will be done before the Historical Cranbury House Tour on Saturday. Obviously not! But those of you who come on the tour will get a close-up view of the porch construction. You’ll also see our fully-finished interior. And contrary to rumors, you will not have to scale a ladder to get into our house. You can buy them the day of the tour at the Elizabeth M. Wagner History Center or the Cranbury Museum.
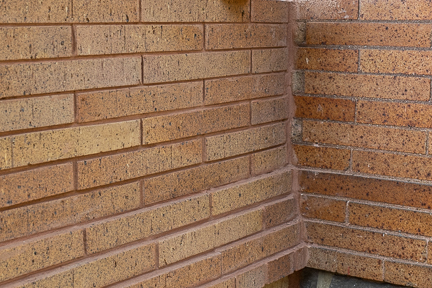
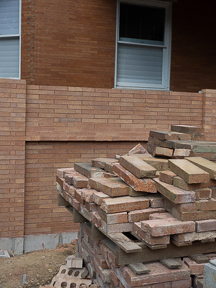
The brick work is nearly finished! As you’ll see, we used all new brick for the porch. We have stacks of the old brick that we planned to use, it just didn’t work out. While we chose a new brick that closely matches the old, the differences in them were enough to make it difficult to use them together. These bricks are a less common size, called Roman. But our old brick is just 1/8th of an inch deeper than the new. That meant that we couldn’t mix them in the same wall because the grout lines would be uneven. Then we planned to use them on the inside of the porch wall, but we decided that using the new brick would be a better look. It’s not an exact match in color, either, but it’s pretty close. We’ll let it age a bit and then decide if we want to “age” the new brick a little more quickly.
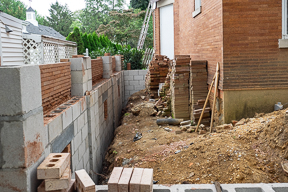
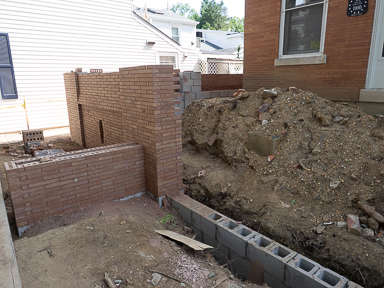
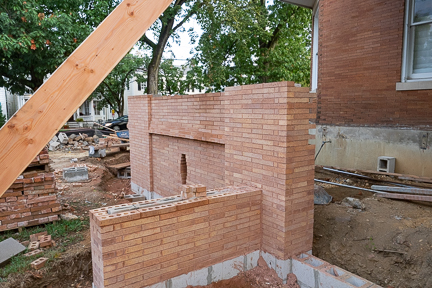
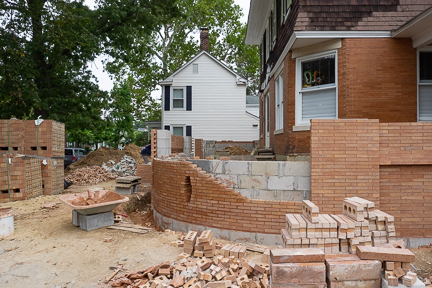
Telling you about the process is definitely more boring that just showing you, so here are a bunch of photos of the process. They started with the north porch wall. This is the wall that had been standing, but we couldn’t repair. This new wall exactly replicates the details of the old wall.

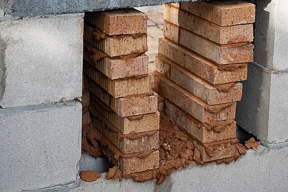
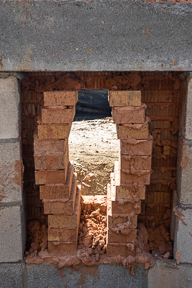
One of the most interesting aspects of the old wall was the keyhole design. While our architectural plan was for a “fake” keyhole, our mason wanted to do it exactly the same way as the old.
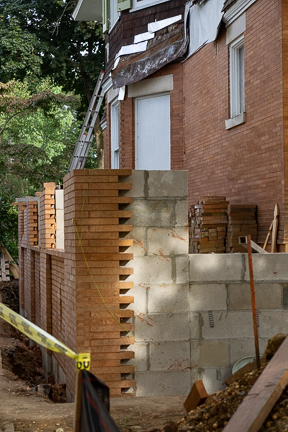
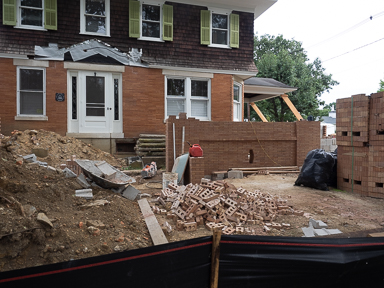
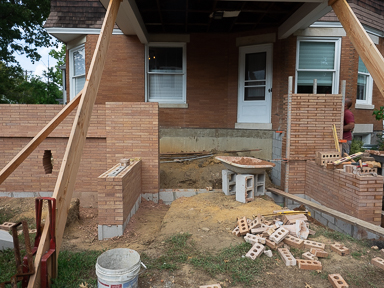
Next, they began work on the front of the house. At this point, everyone in town could see what was taking shape.
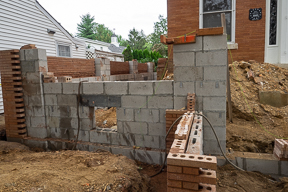

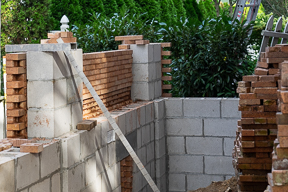
They skipped over the curved wall and put up the south side.
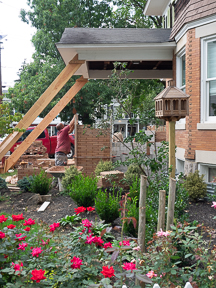
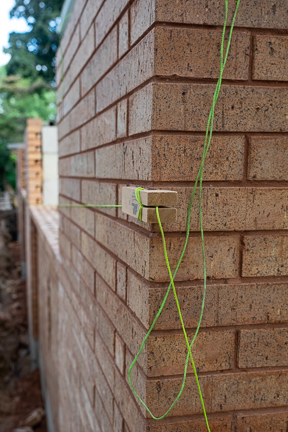
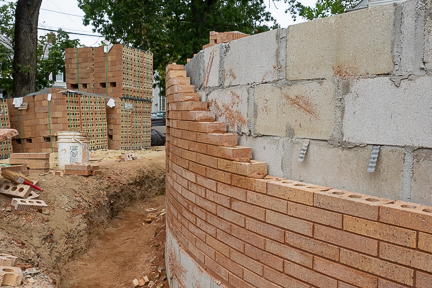
Finally, what we were all waiting for: The Curve. Here you can see a master mason at work. He precisely cut the bricks to create a smooth curve. He also matched the curve to fit the original limestone wall caps.
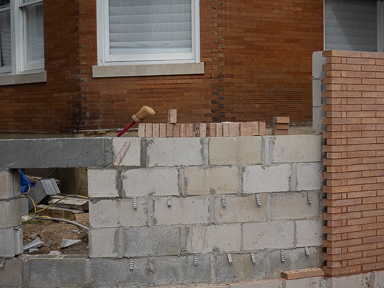
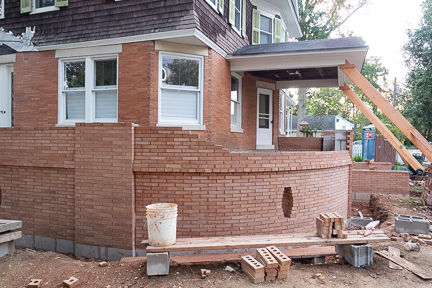
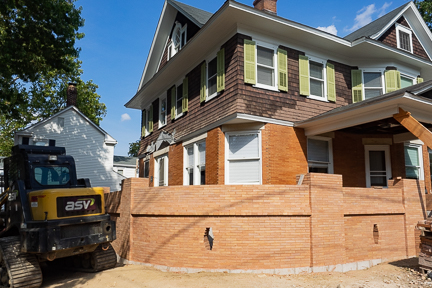
Today, the brick work is nearly finished. We just have a few more bricks to place in the wall.
